
Step 1
Get your gear! You can build the XO1 with your most favorite components.
It’s super easy.
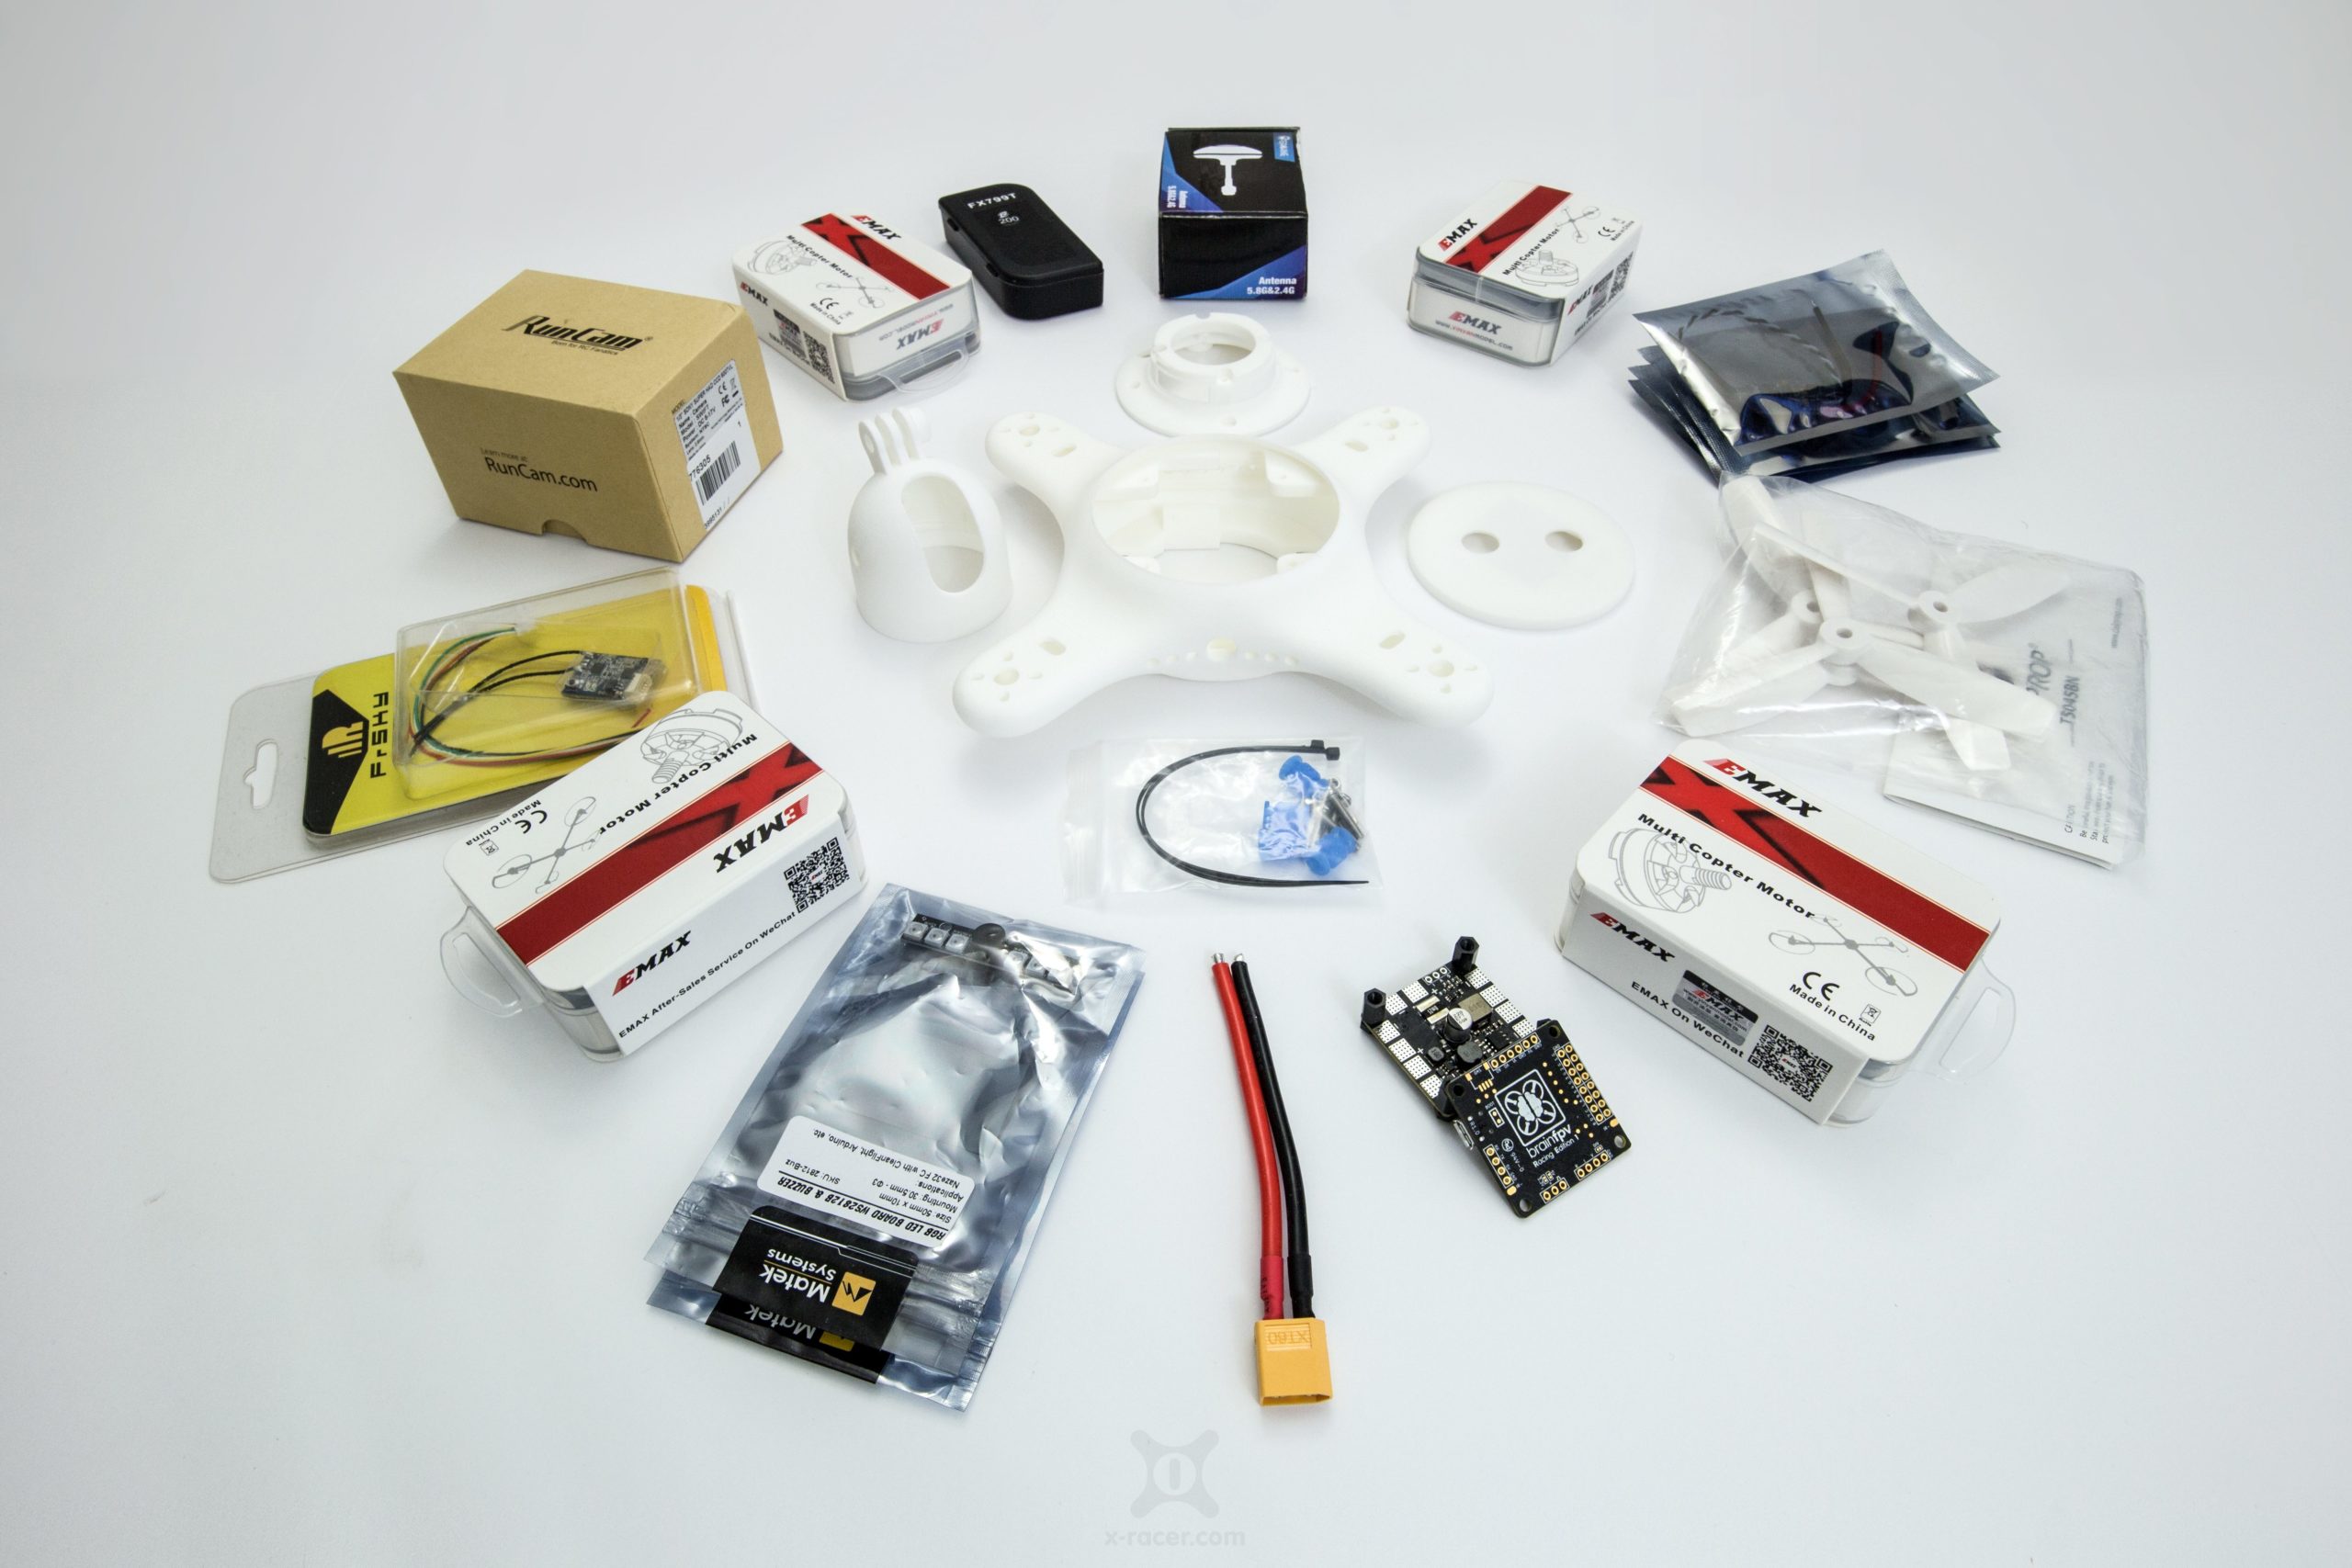
Get your gear! You can build the XO1 with your most favorite components.
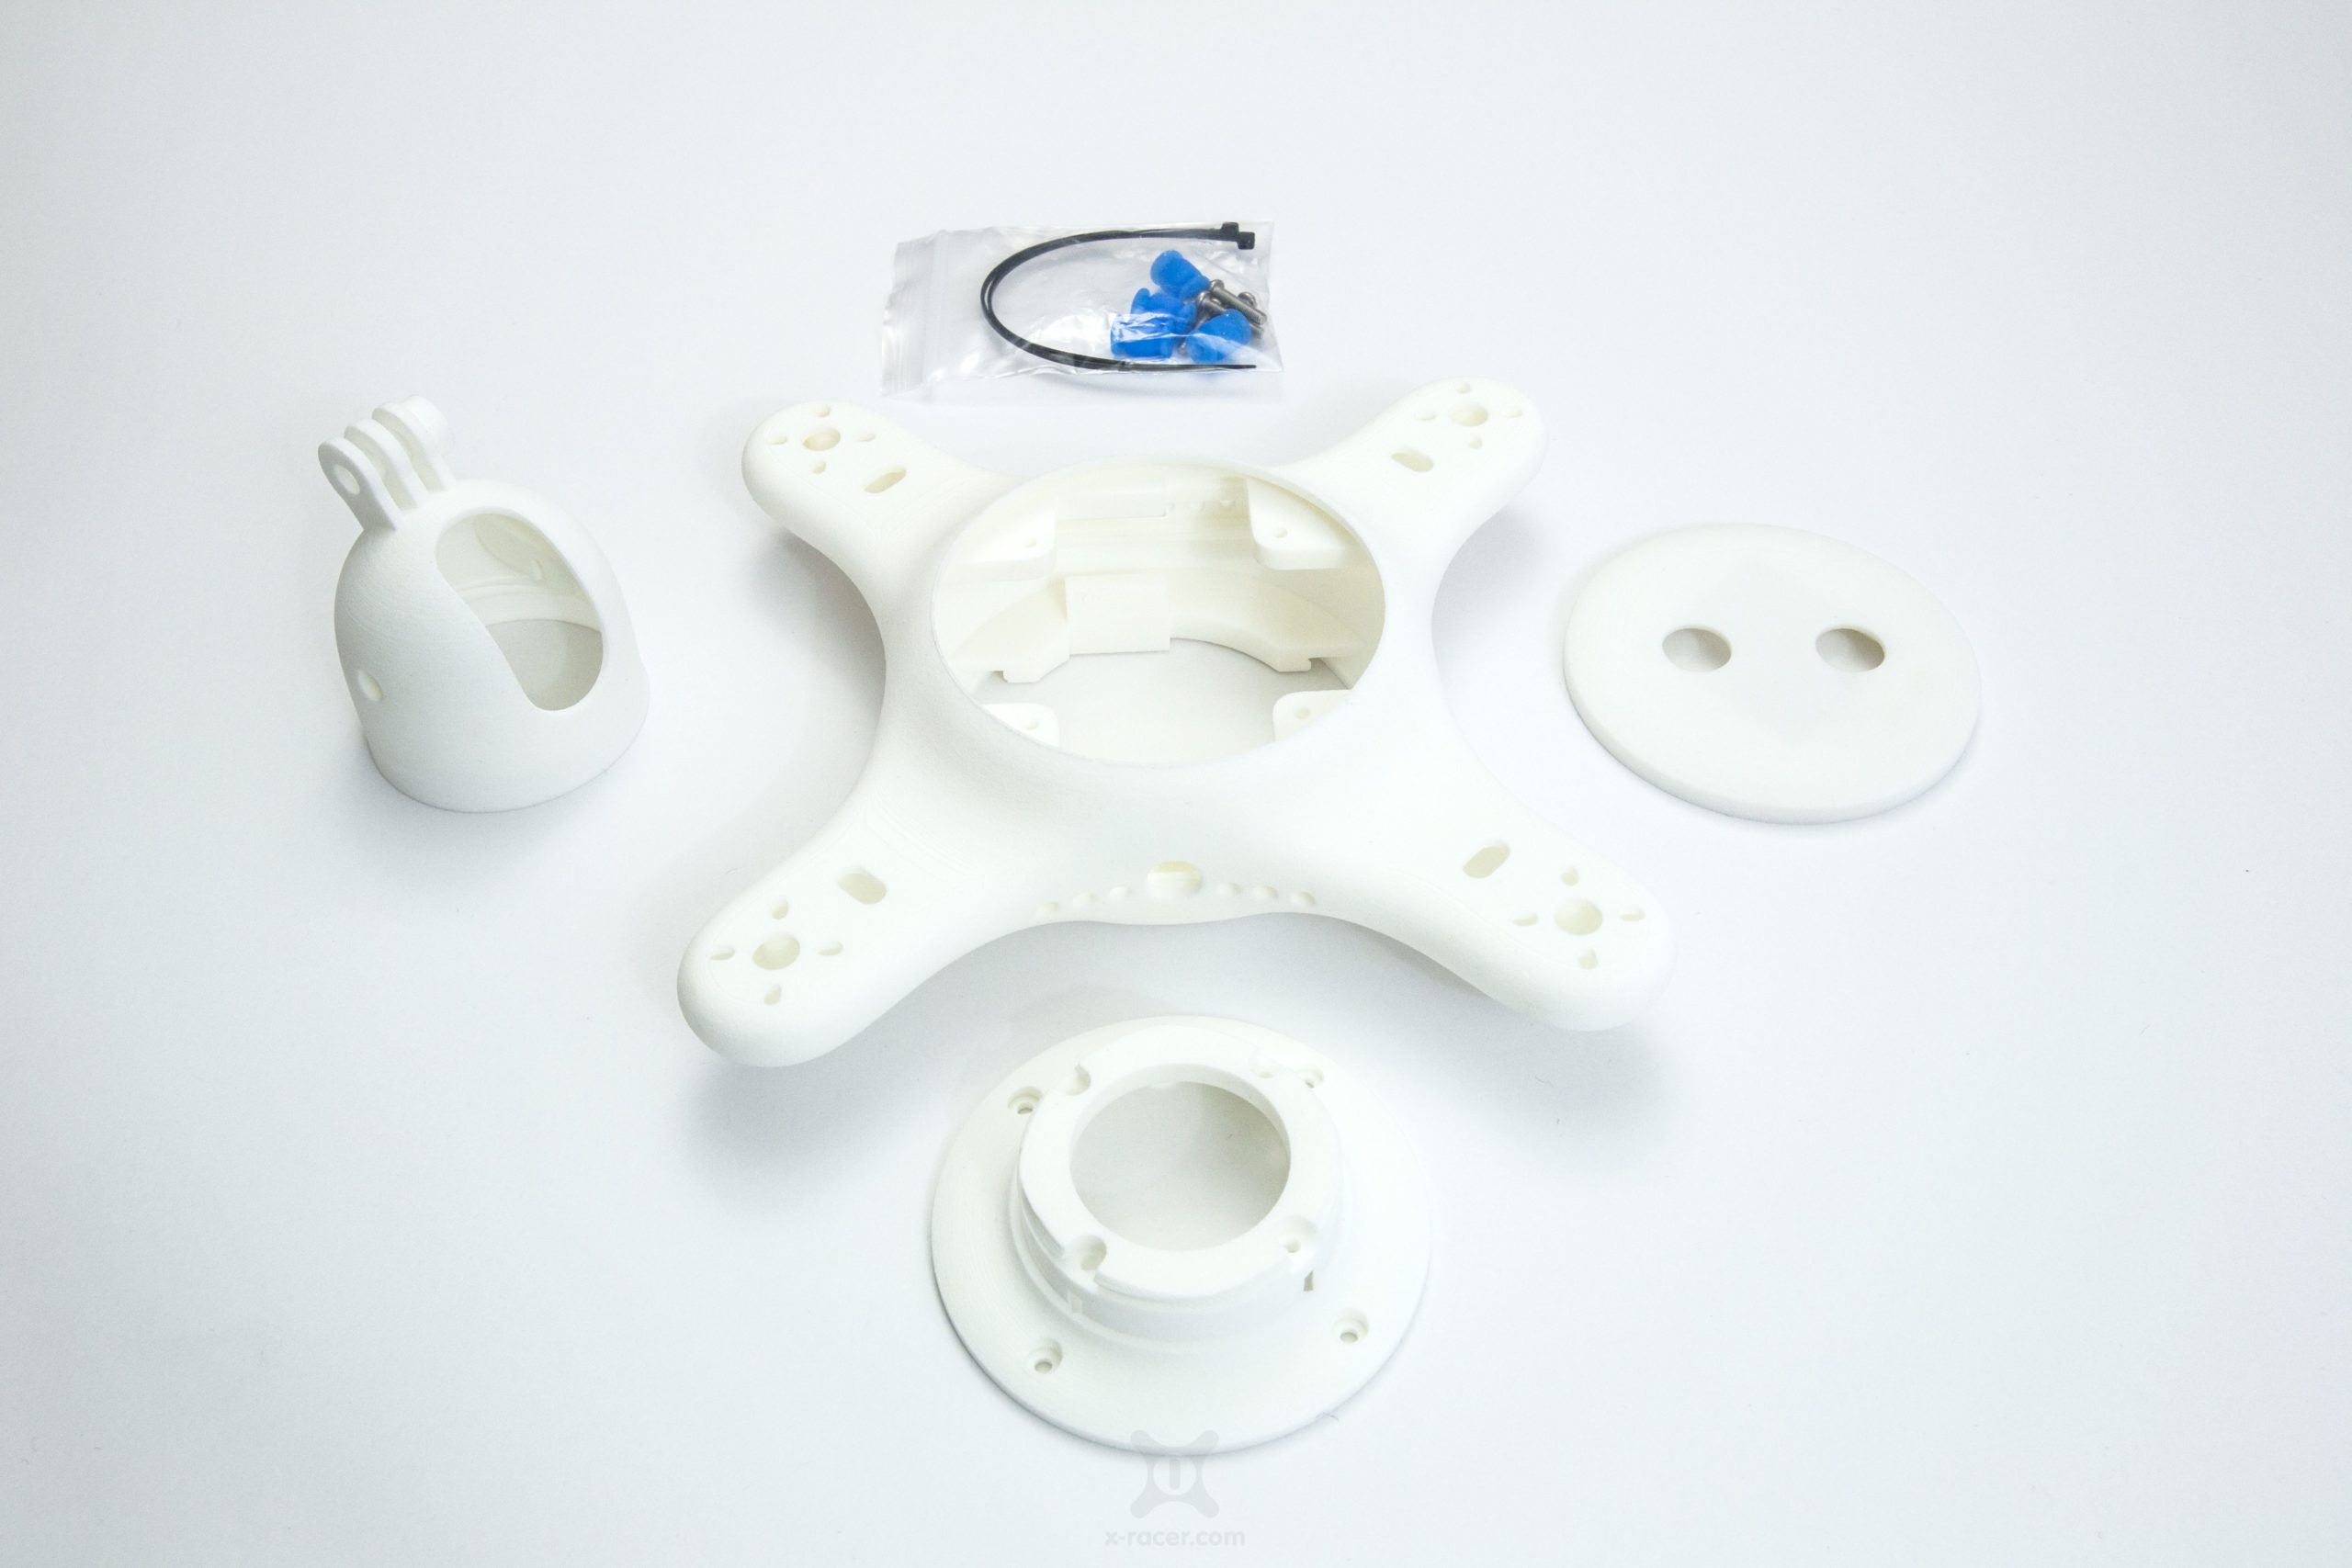
If you order the XO1 bundle from our store your will recieve the four bodyparts in your favorite color as well as 4 m3 screws (12mm), 4 dampeners, 4 m3 screws and 2 zip ties.
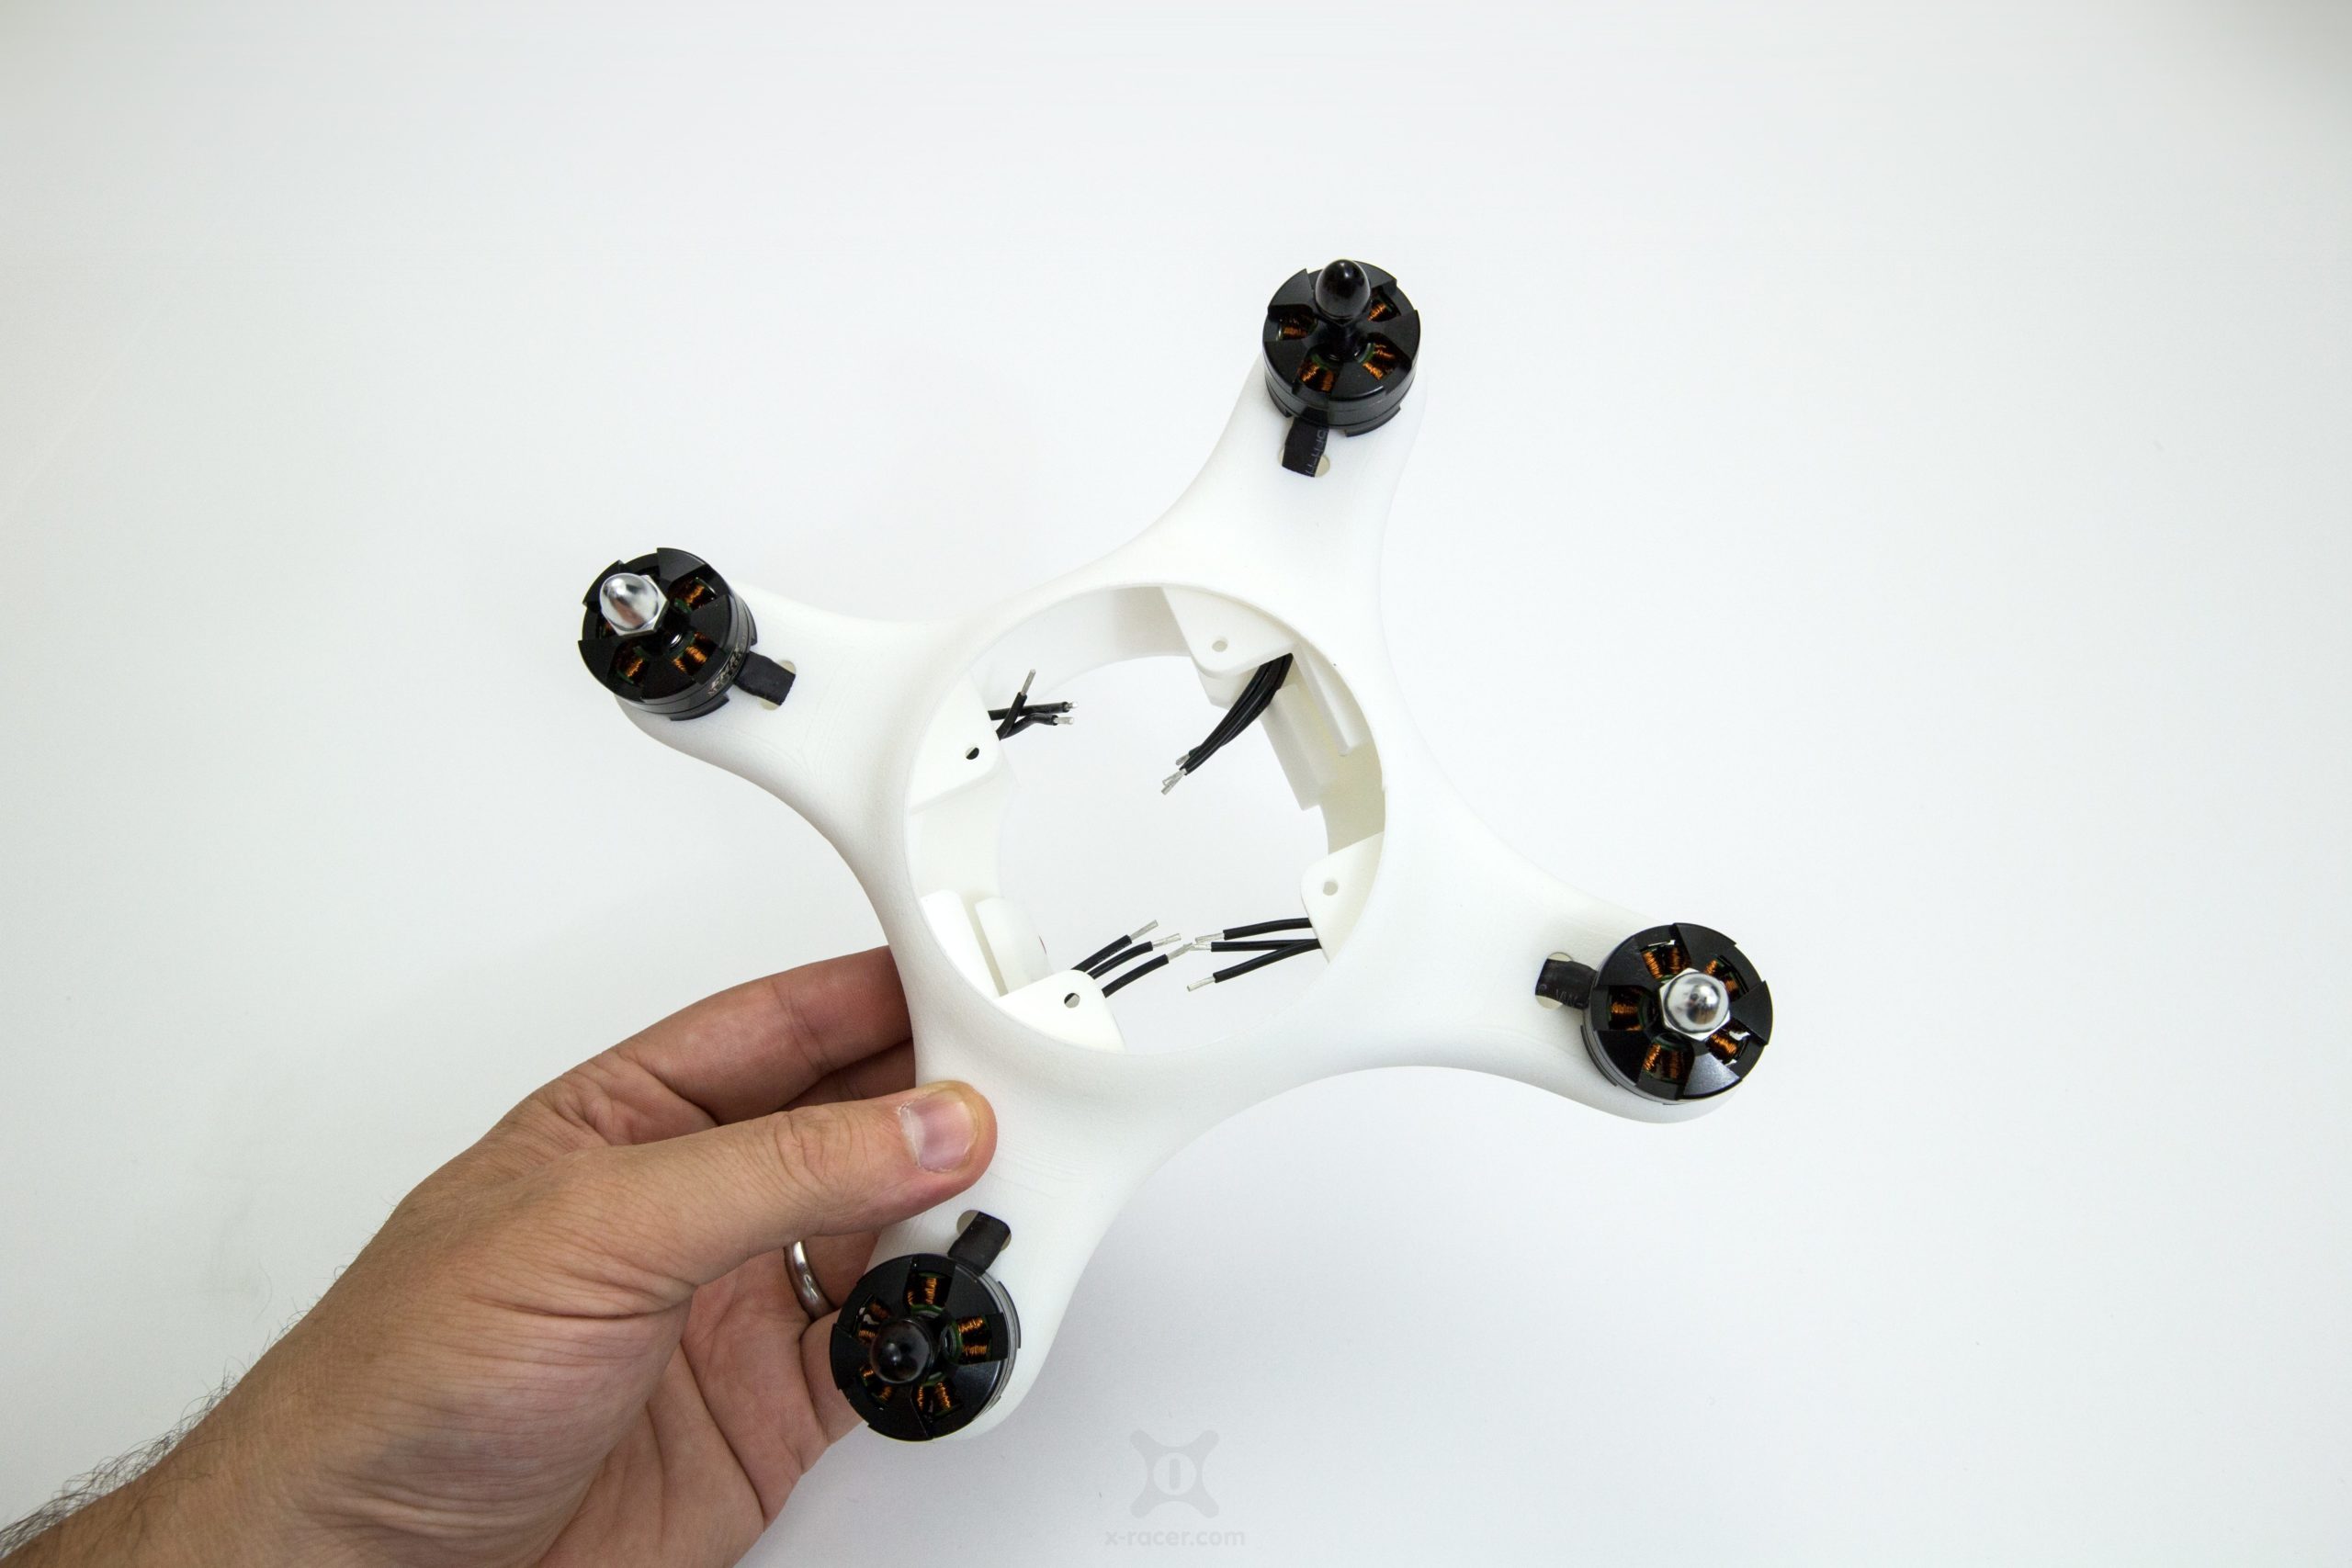
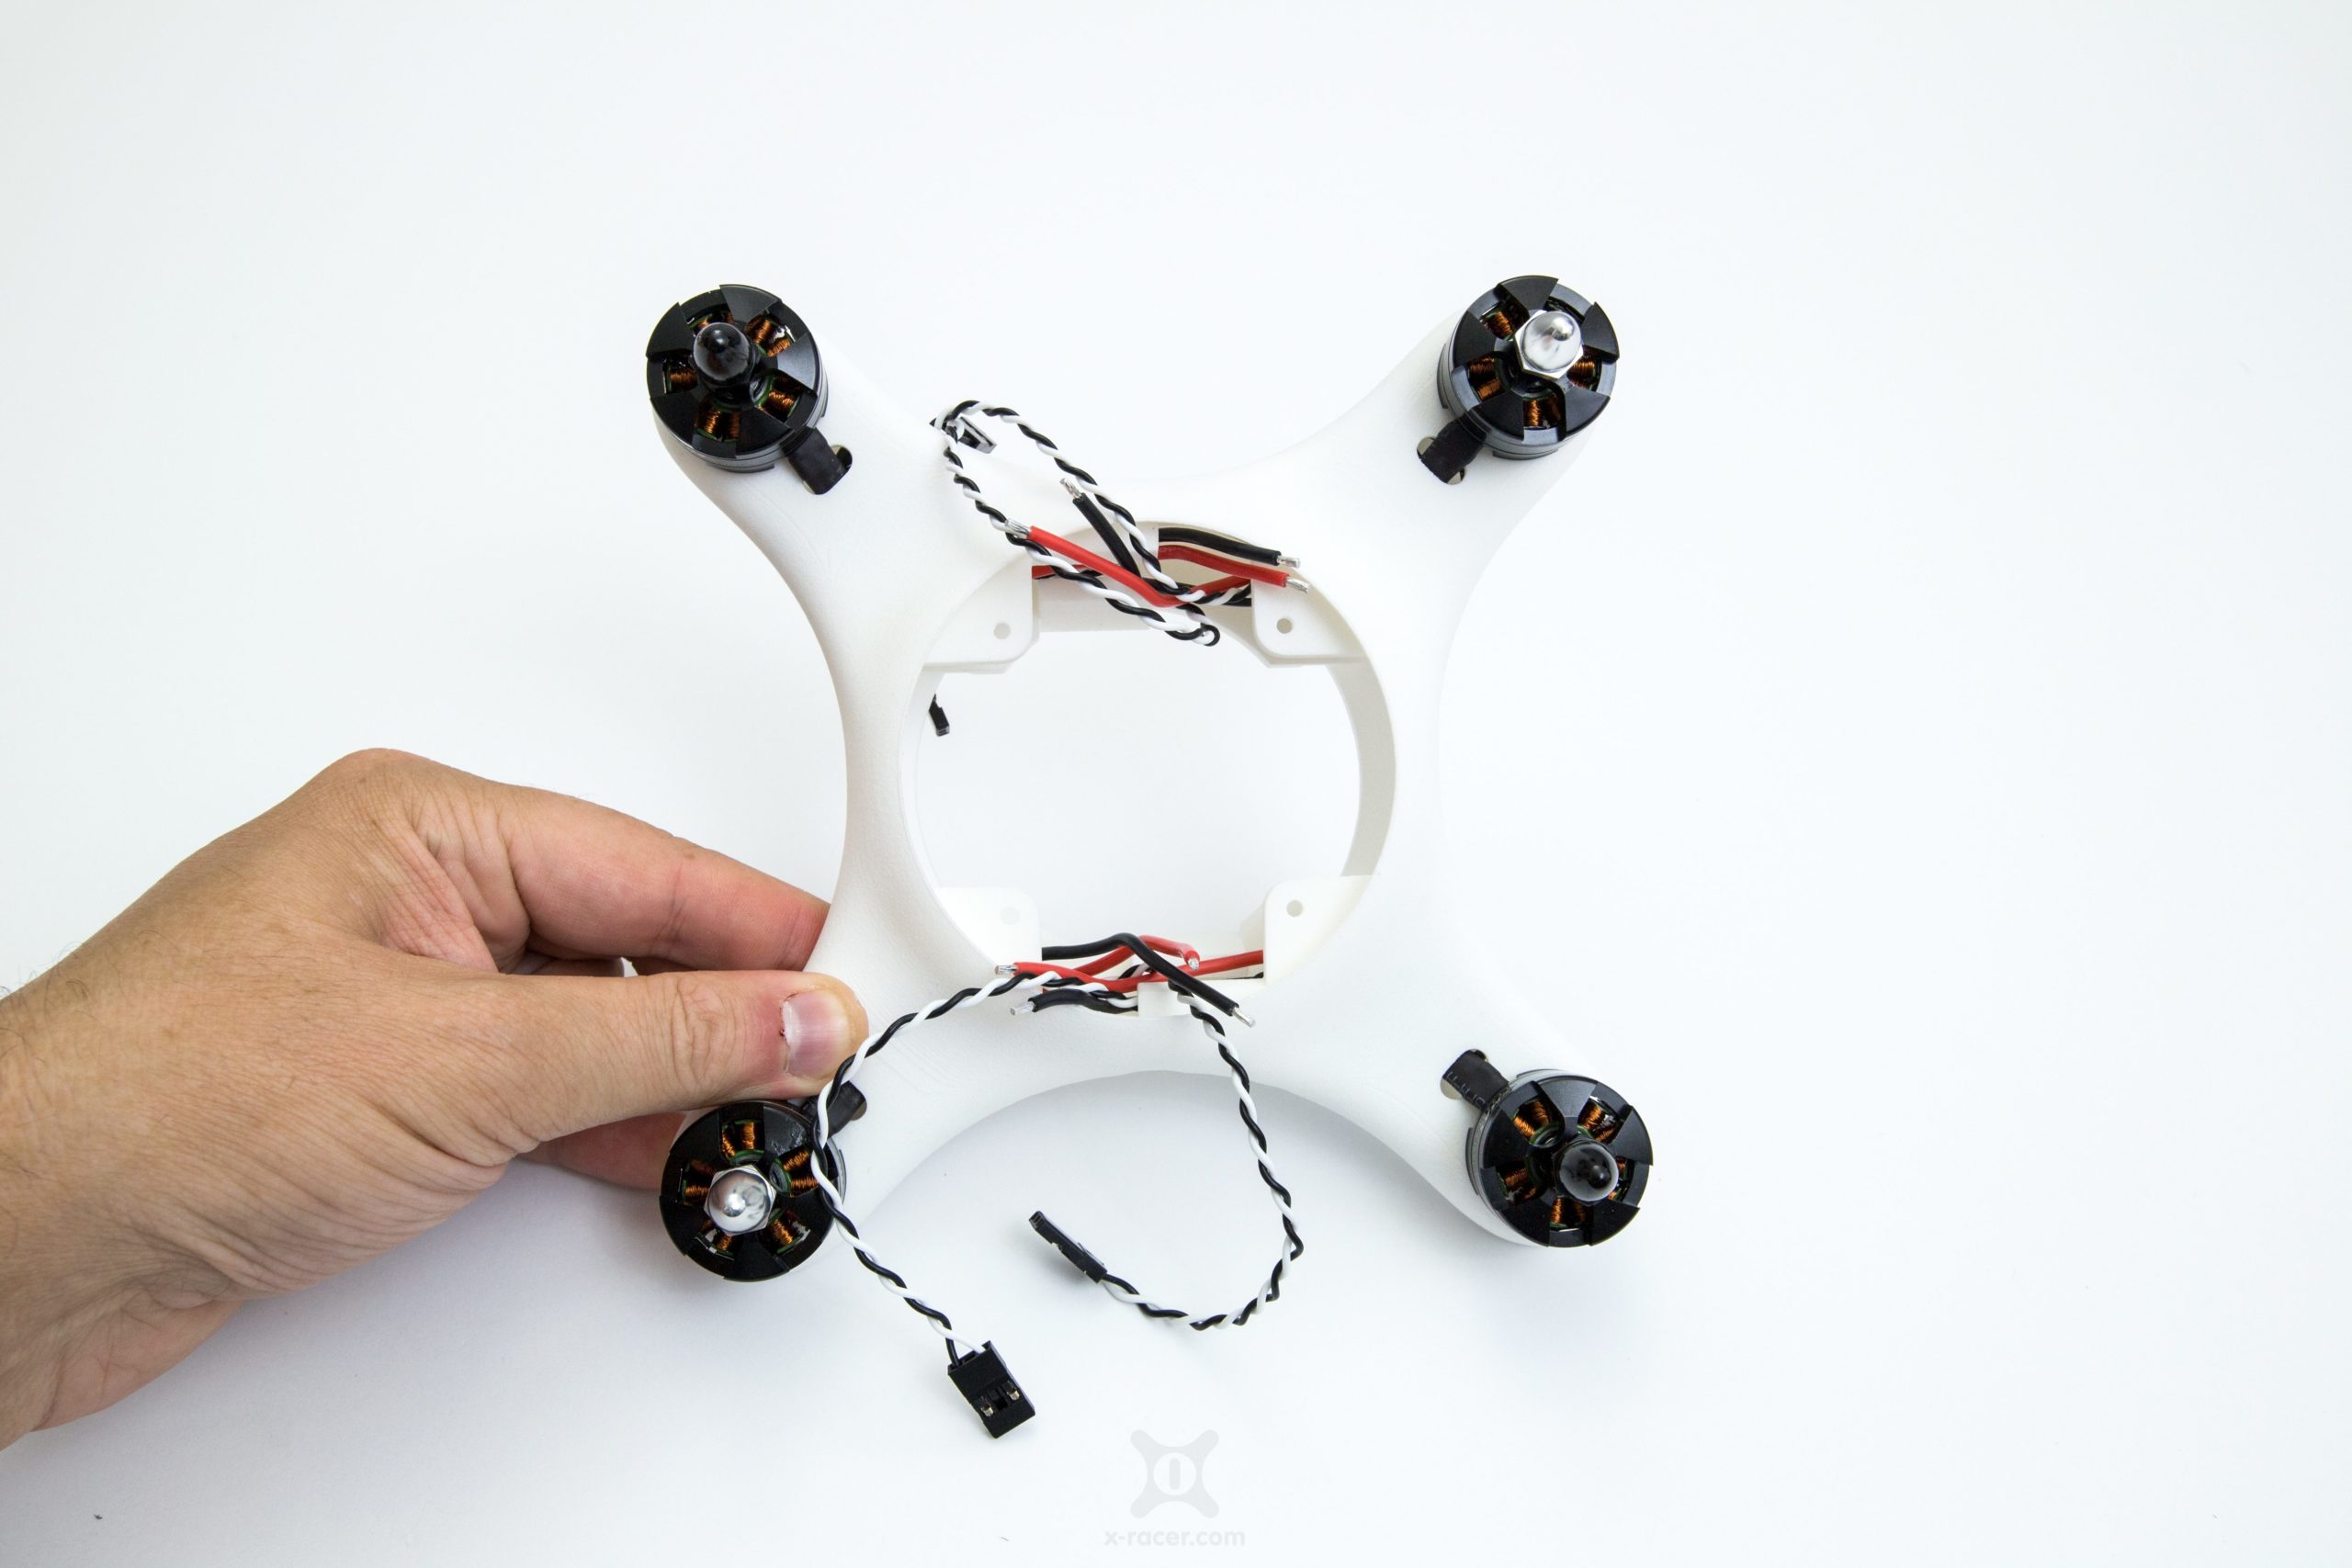
We screw all four motors to the XO1 arms. Important at this step is the order. Start with a silver screw motor on the front right arm.
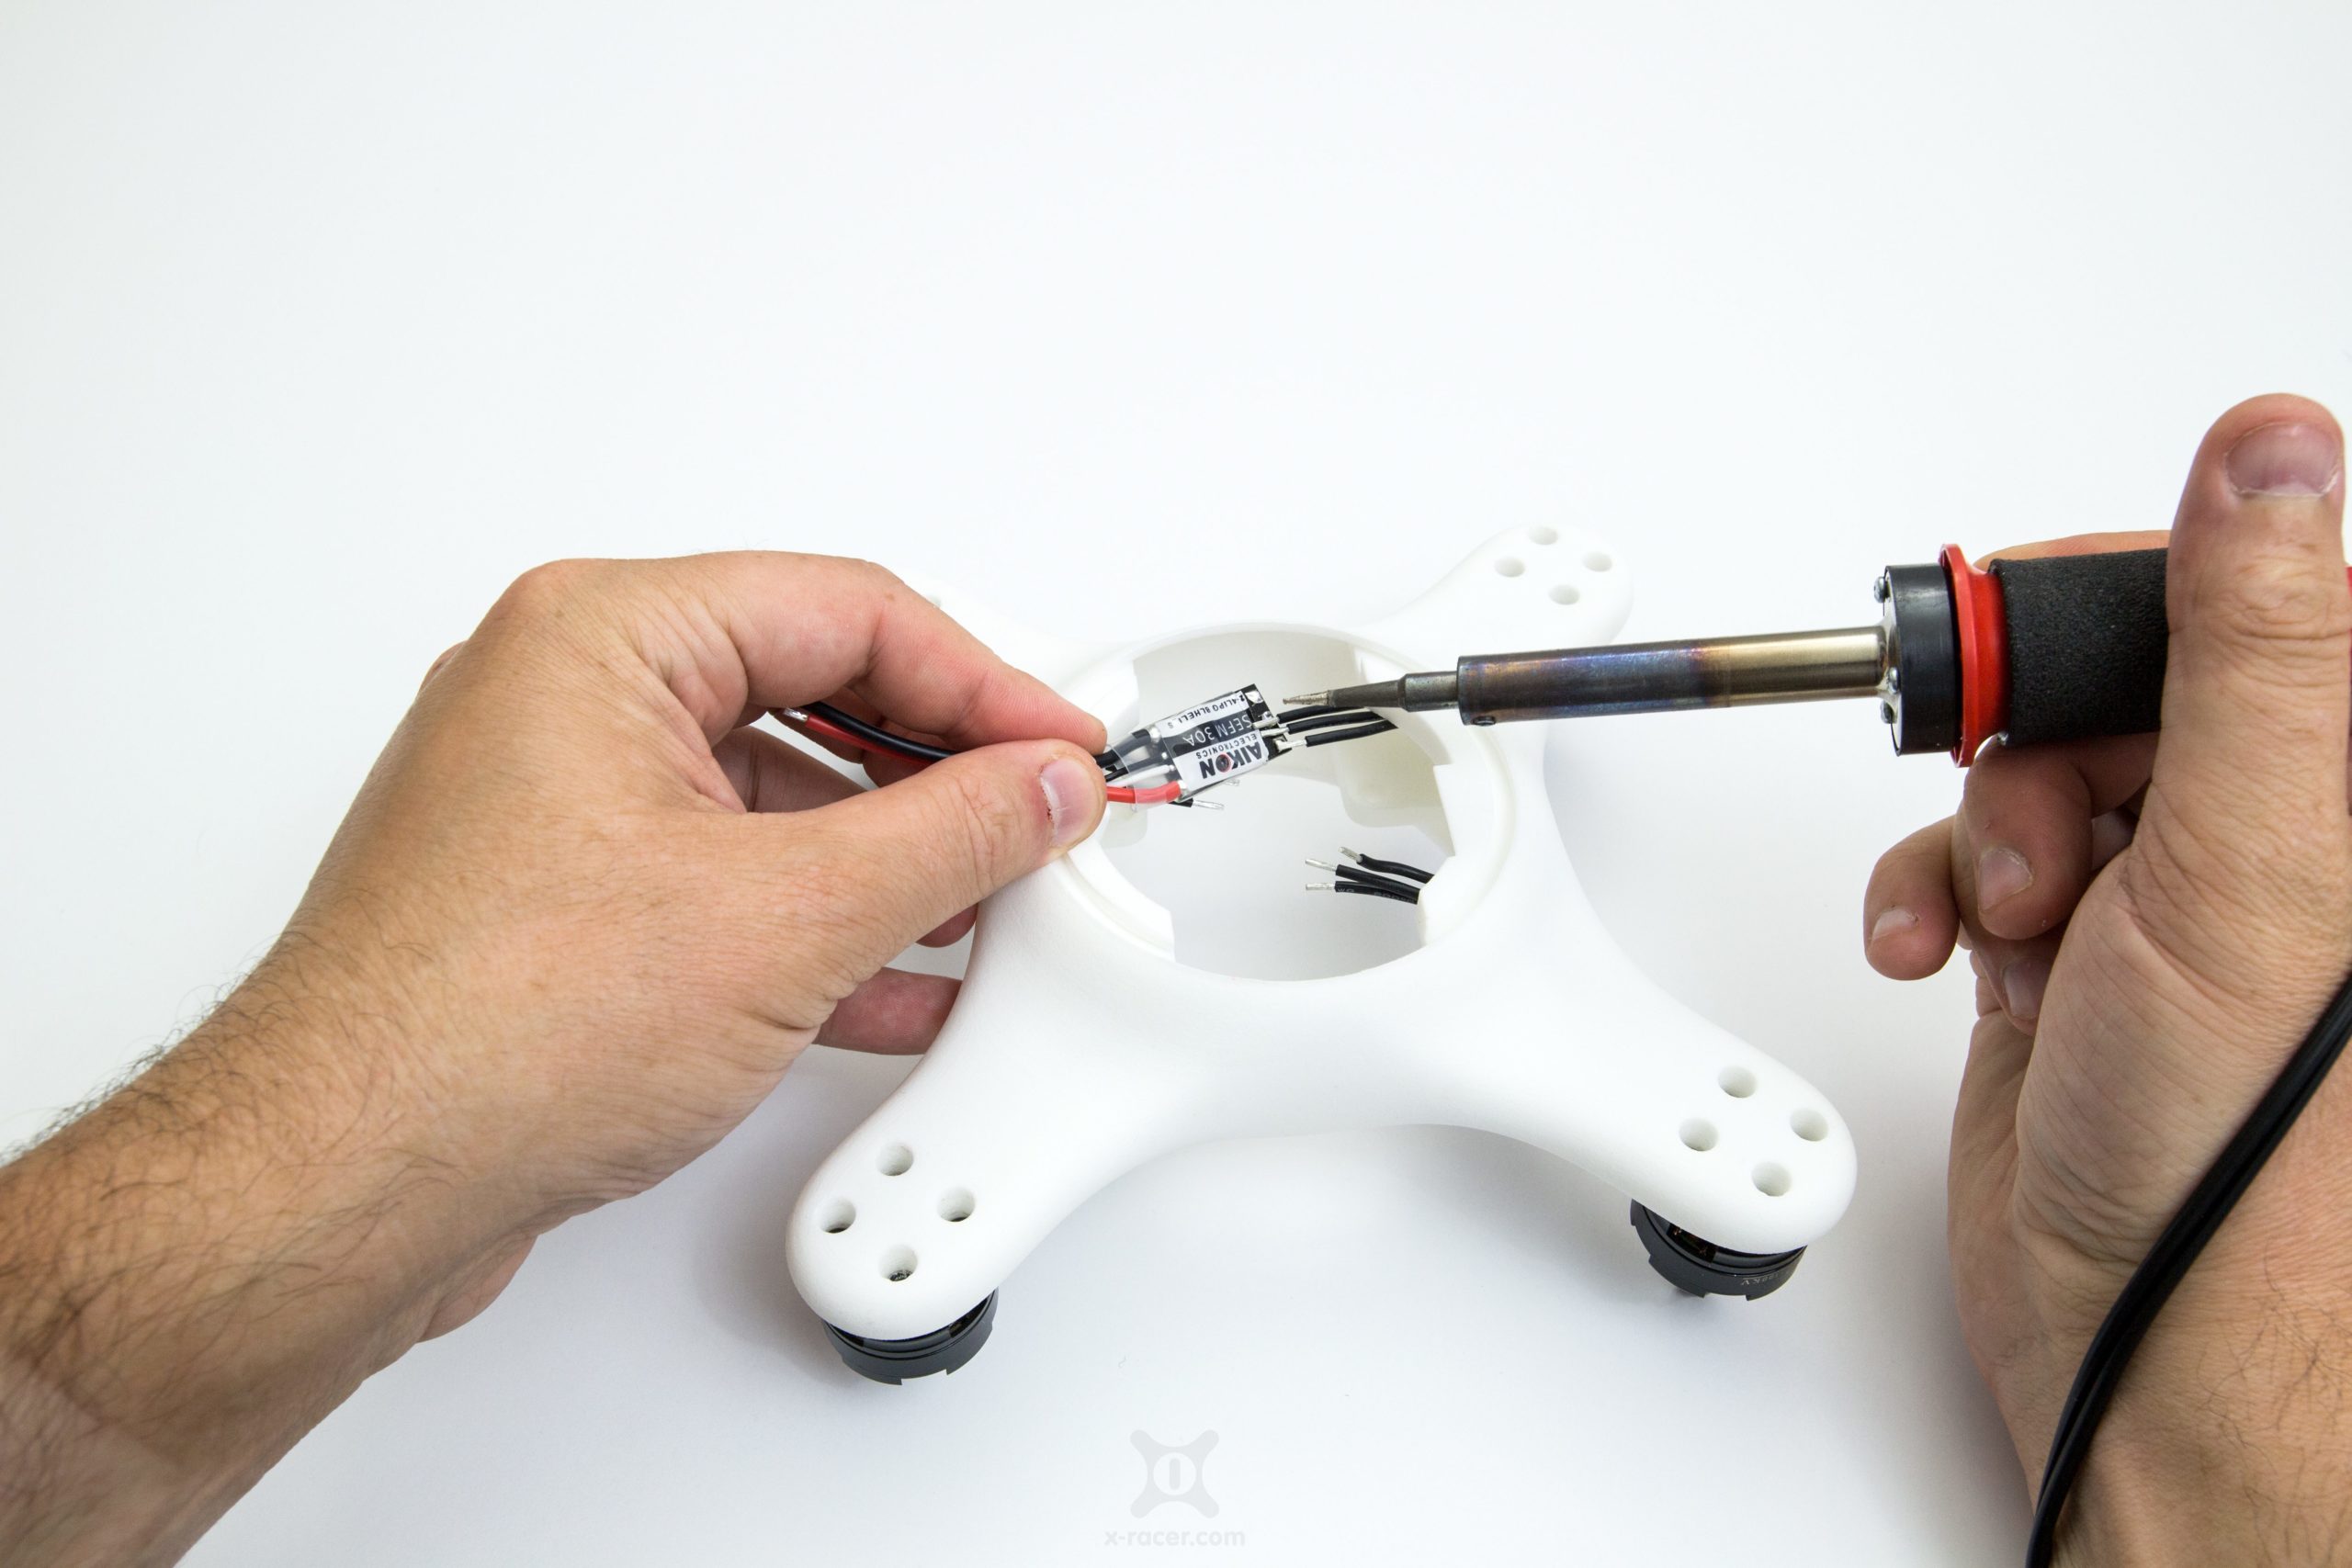
Afte we guide the cables through the arms, it is now time to solder the escs. The order of the cables is not yet important, but keep in mind that we may have to change two wires later.
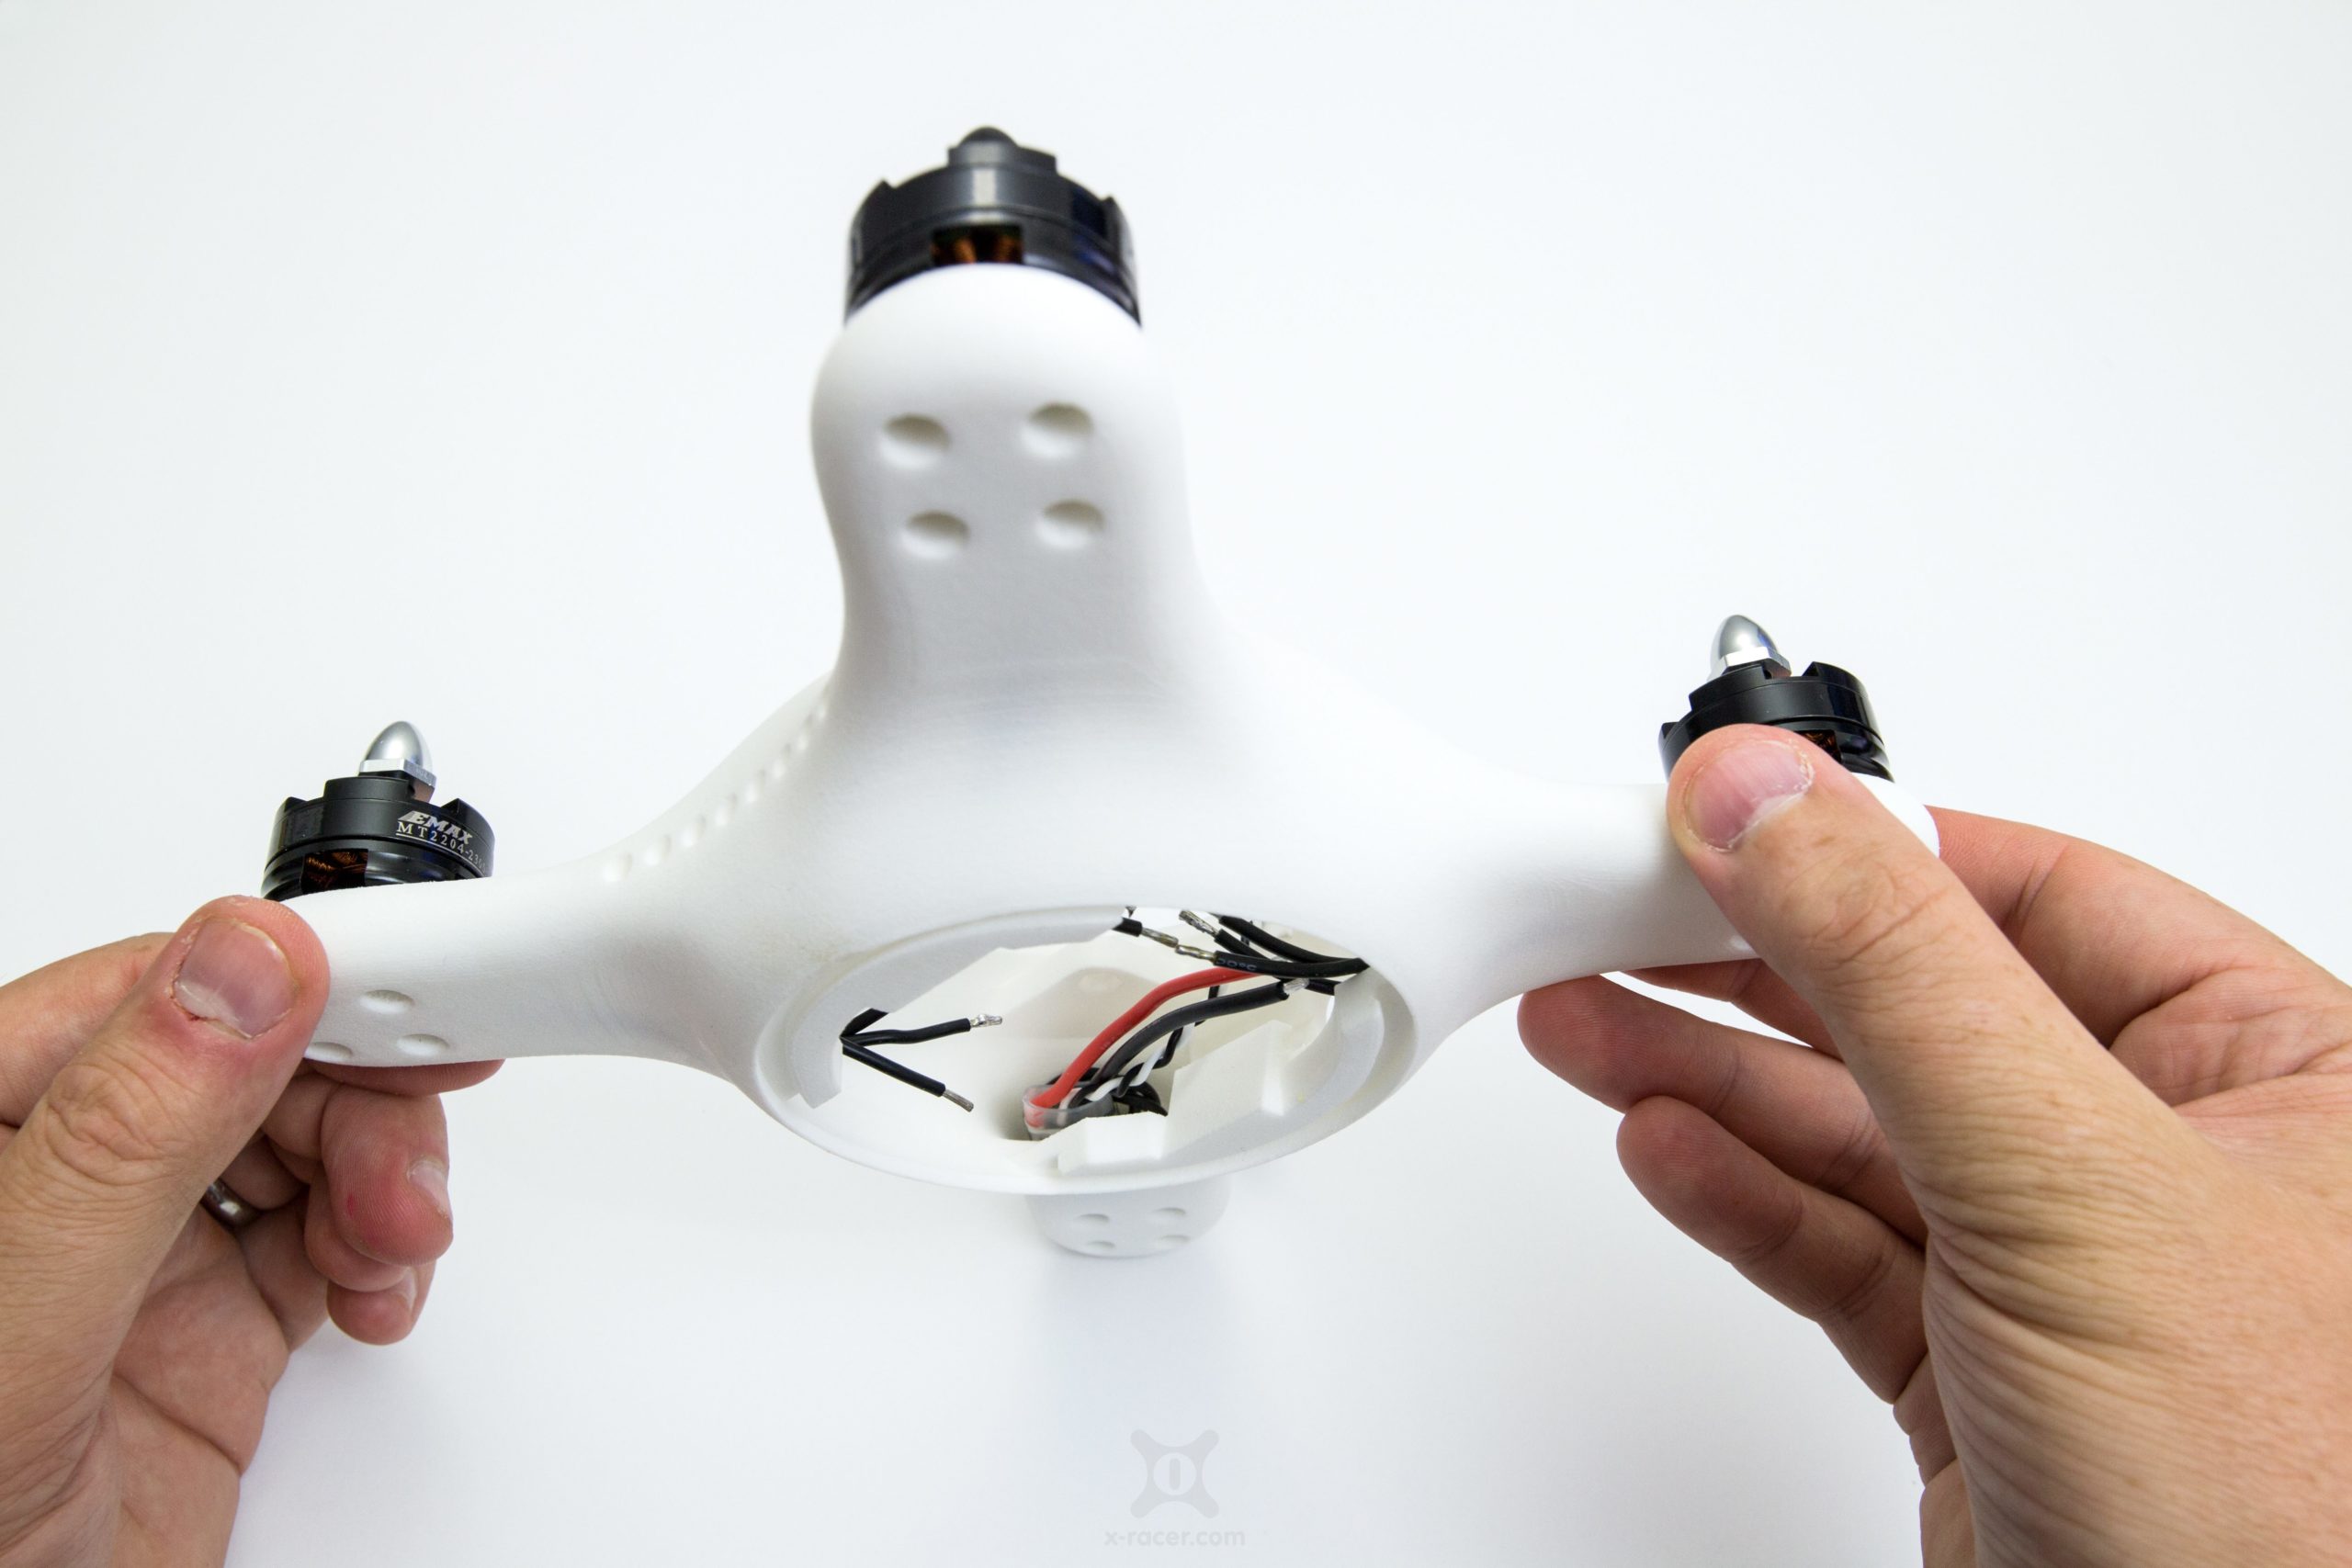
Now we can move the escs into the arms. Only the cables on the other side should be visible.
We guide the controller cables from the escs to the top.
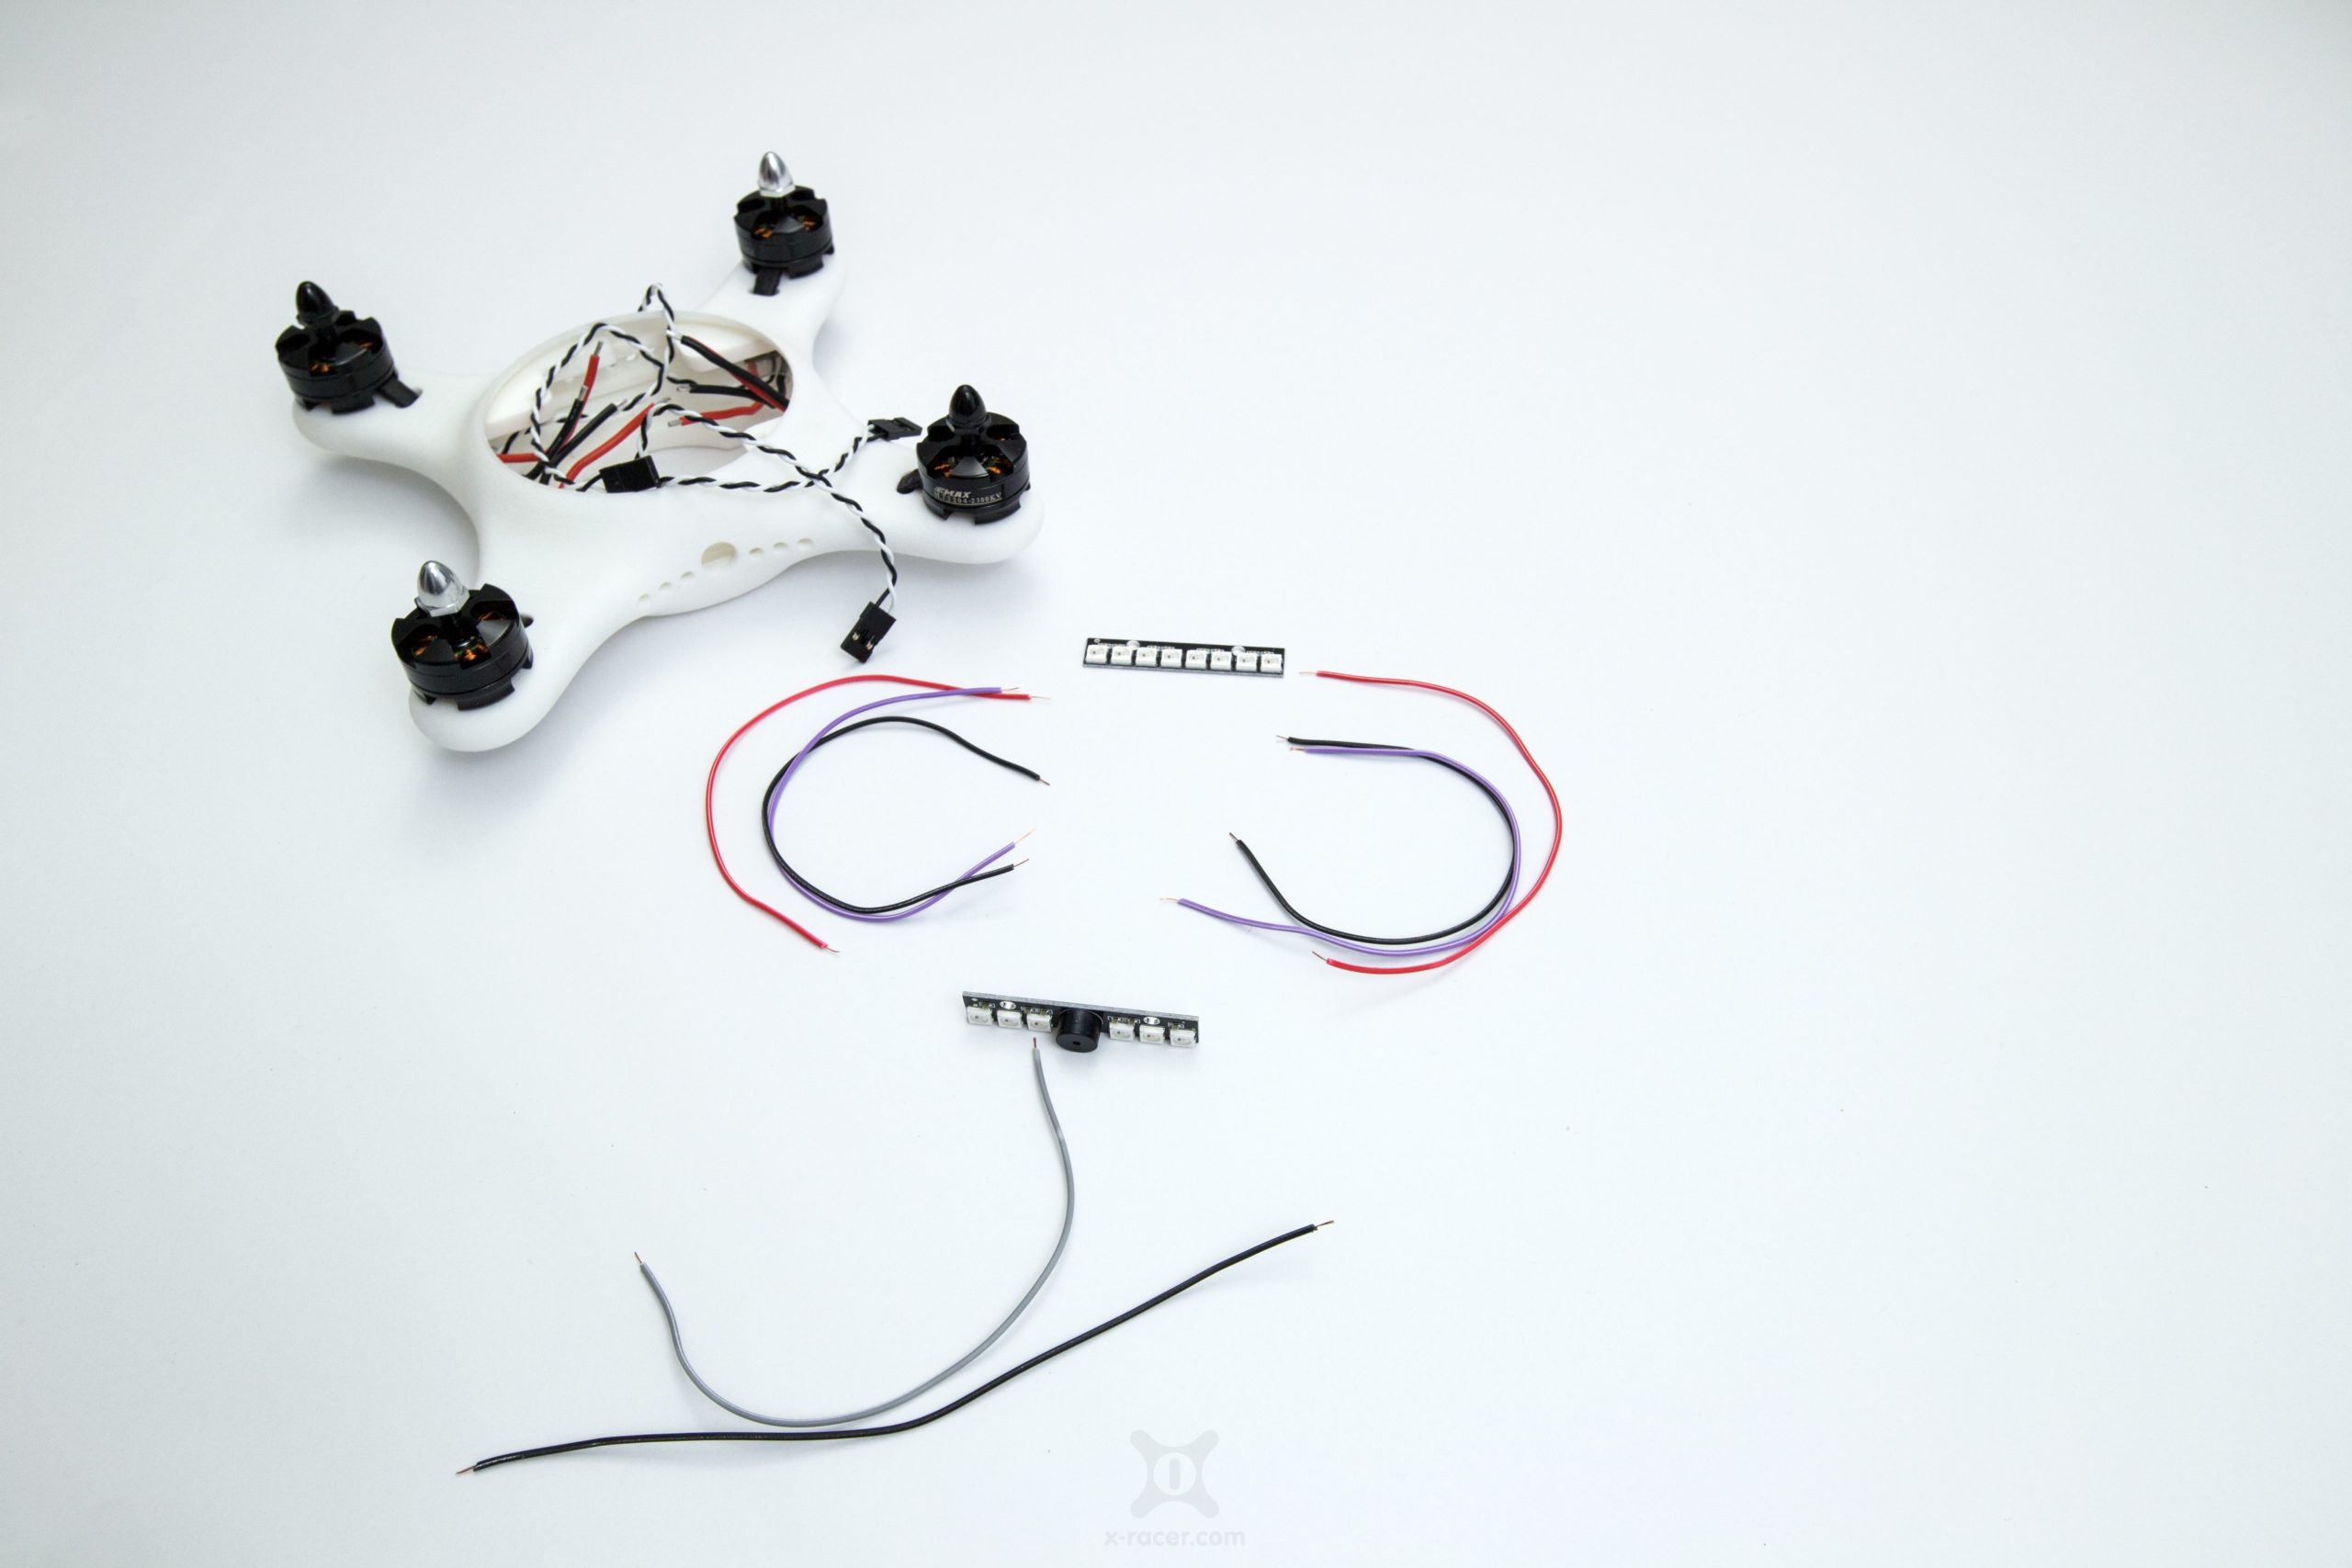
Now its time to prepare the two led bars. For that we have to cut some cables to the correct length.
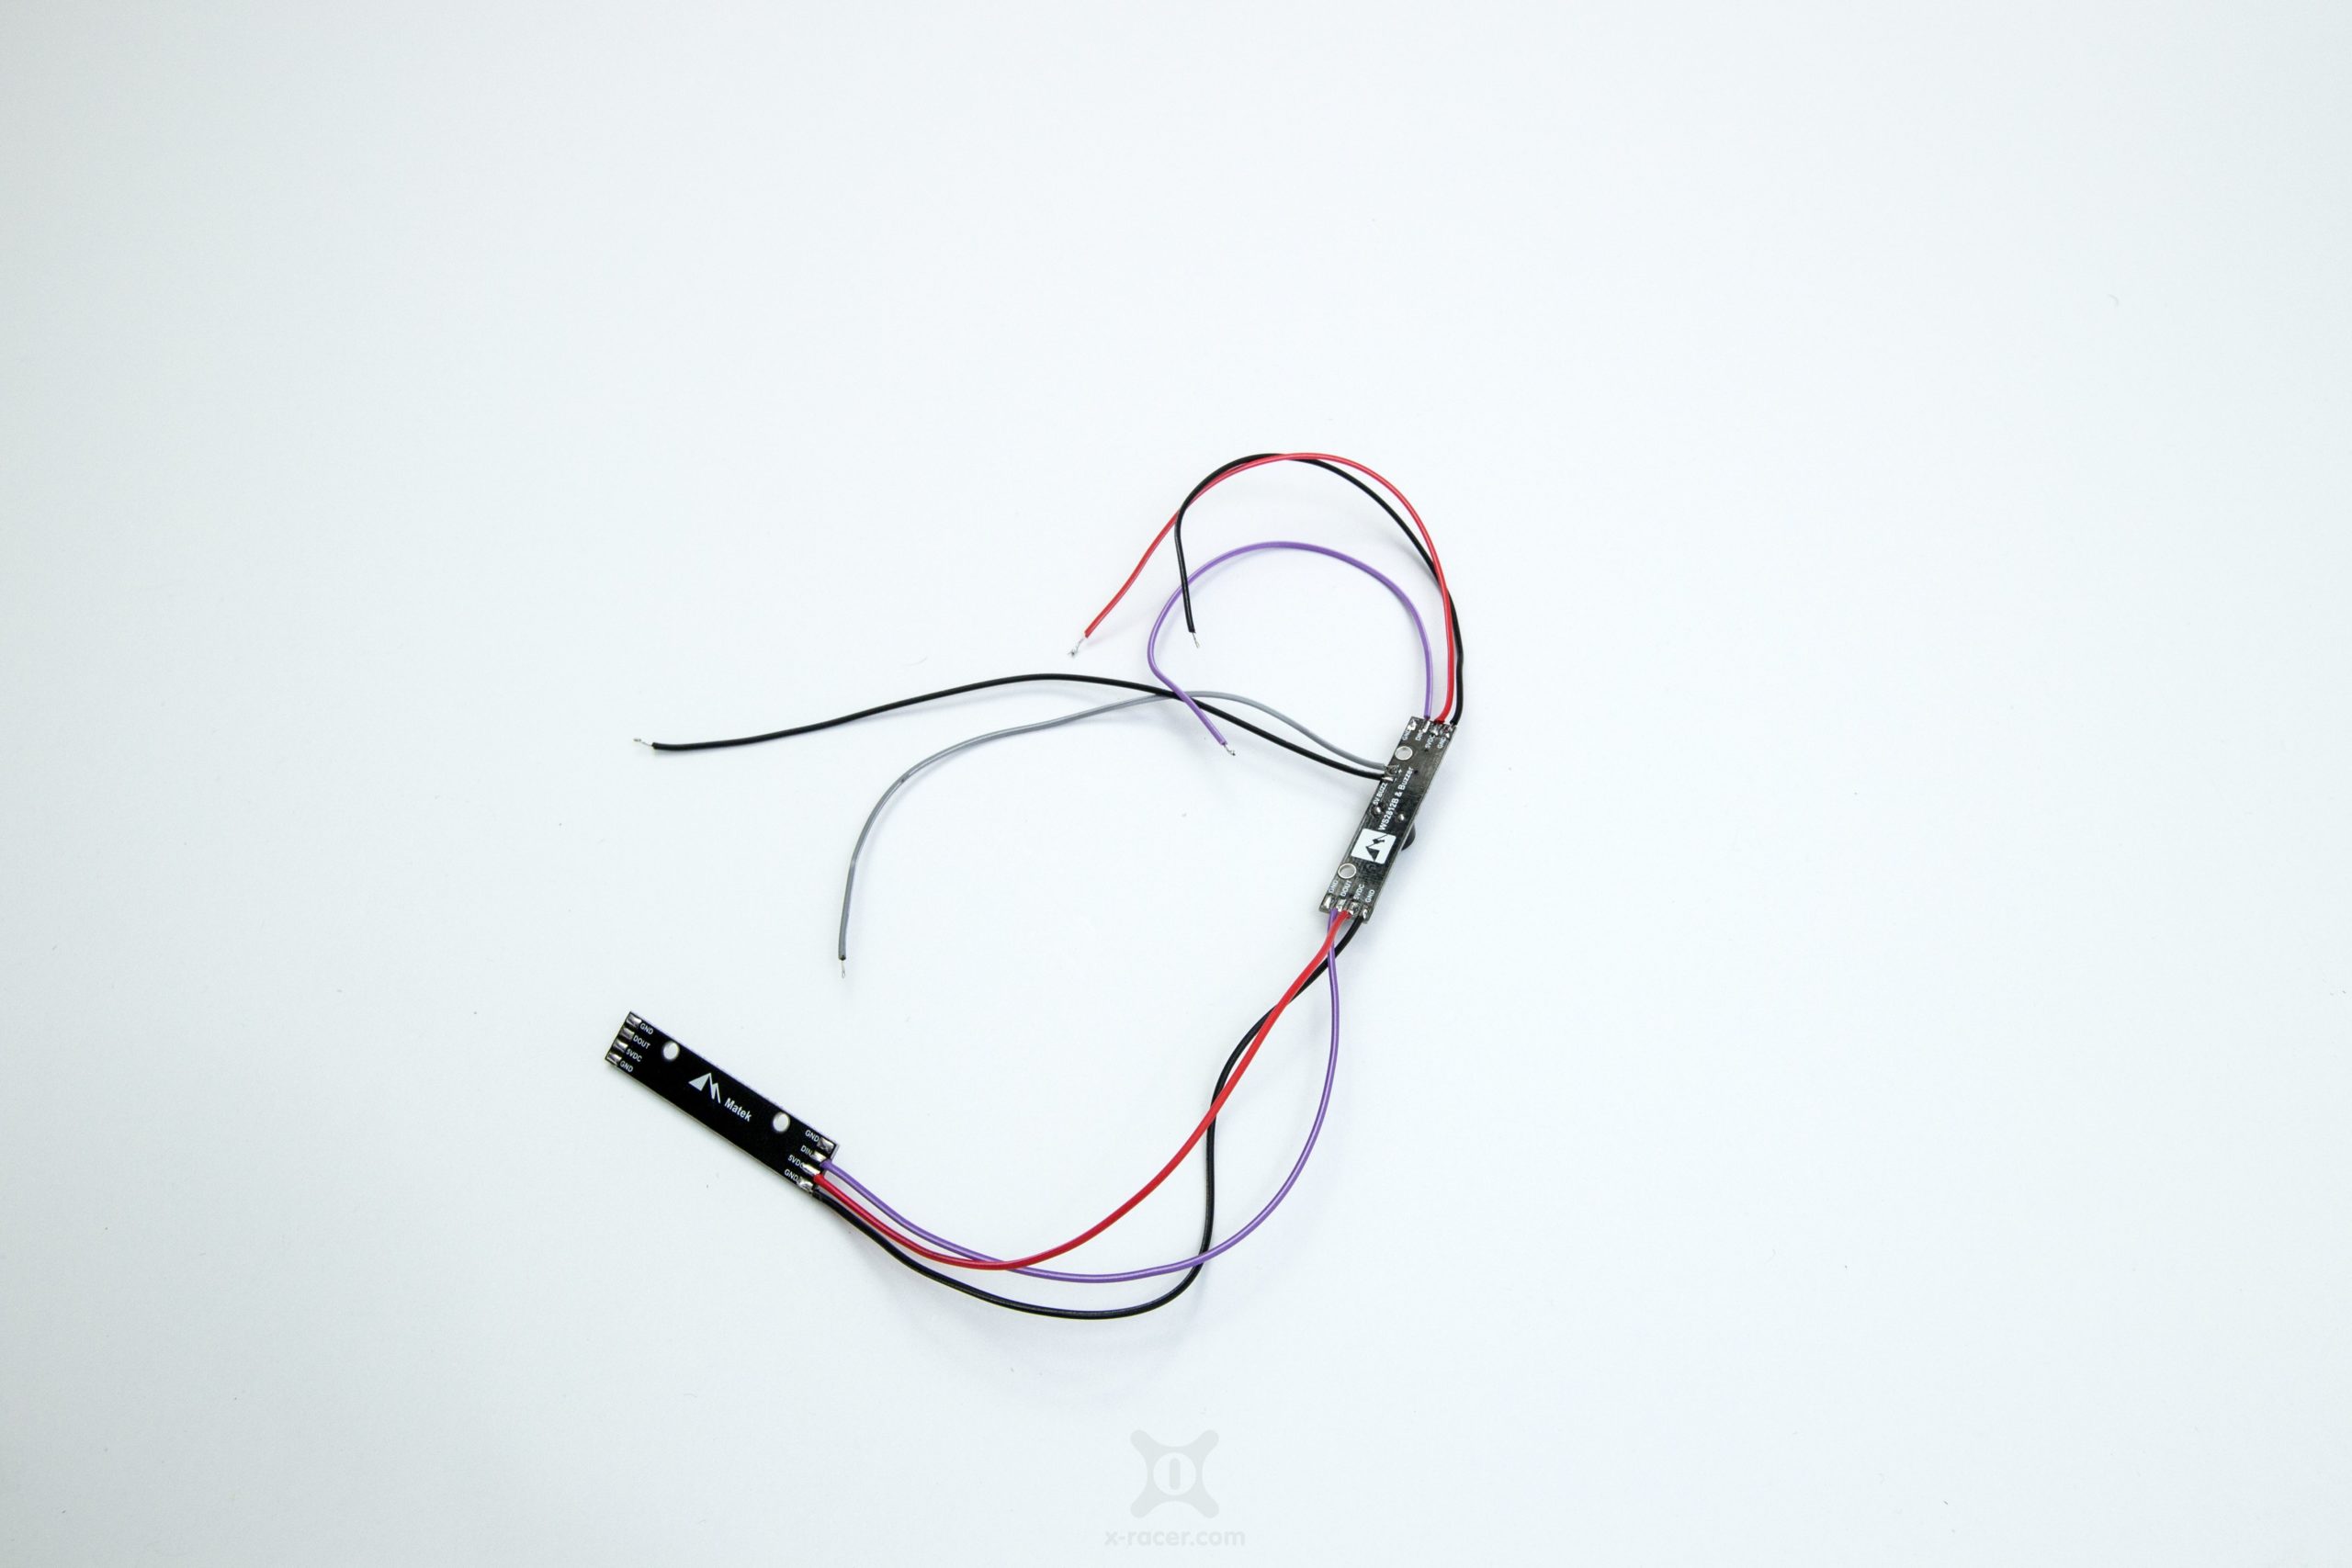
The final assembly is pretty straight forward. We connect all the cables from one end of the front led to the input solderpads of the back led module. We do the same with the front module plus two extra cables for the buzzer.
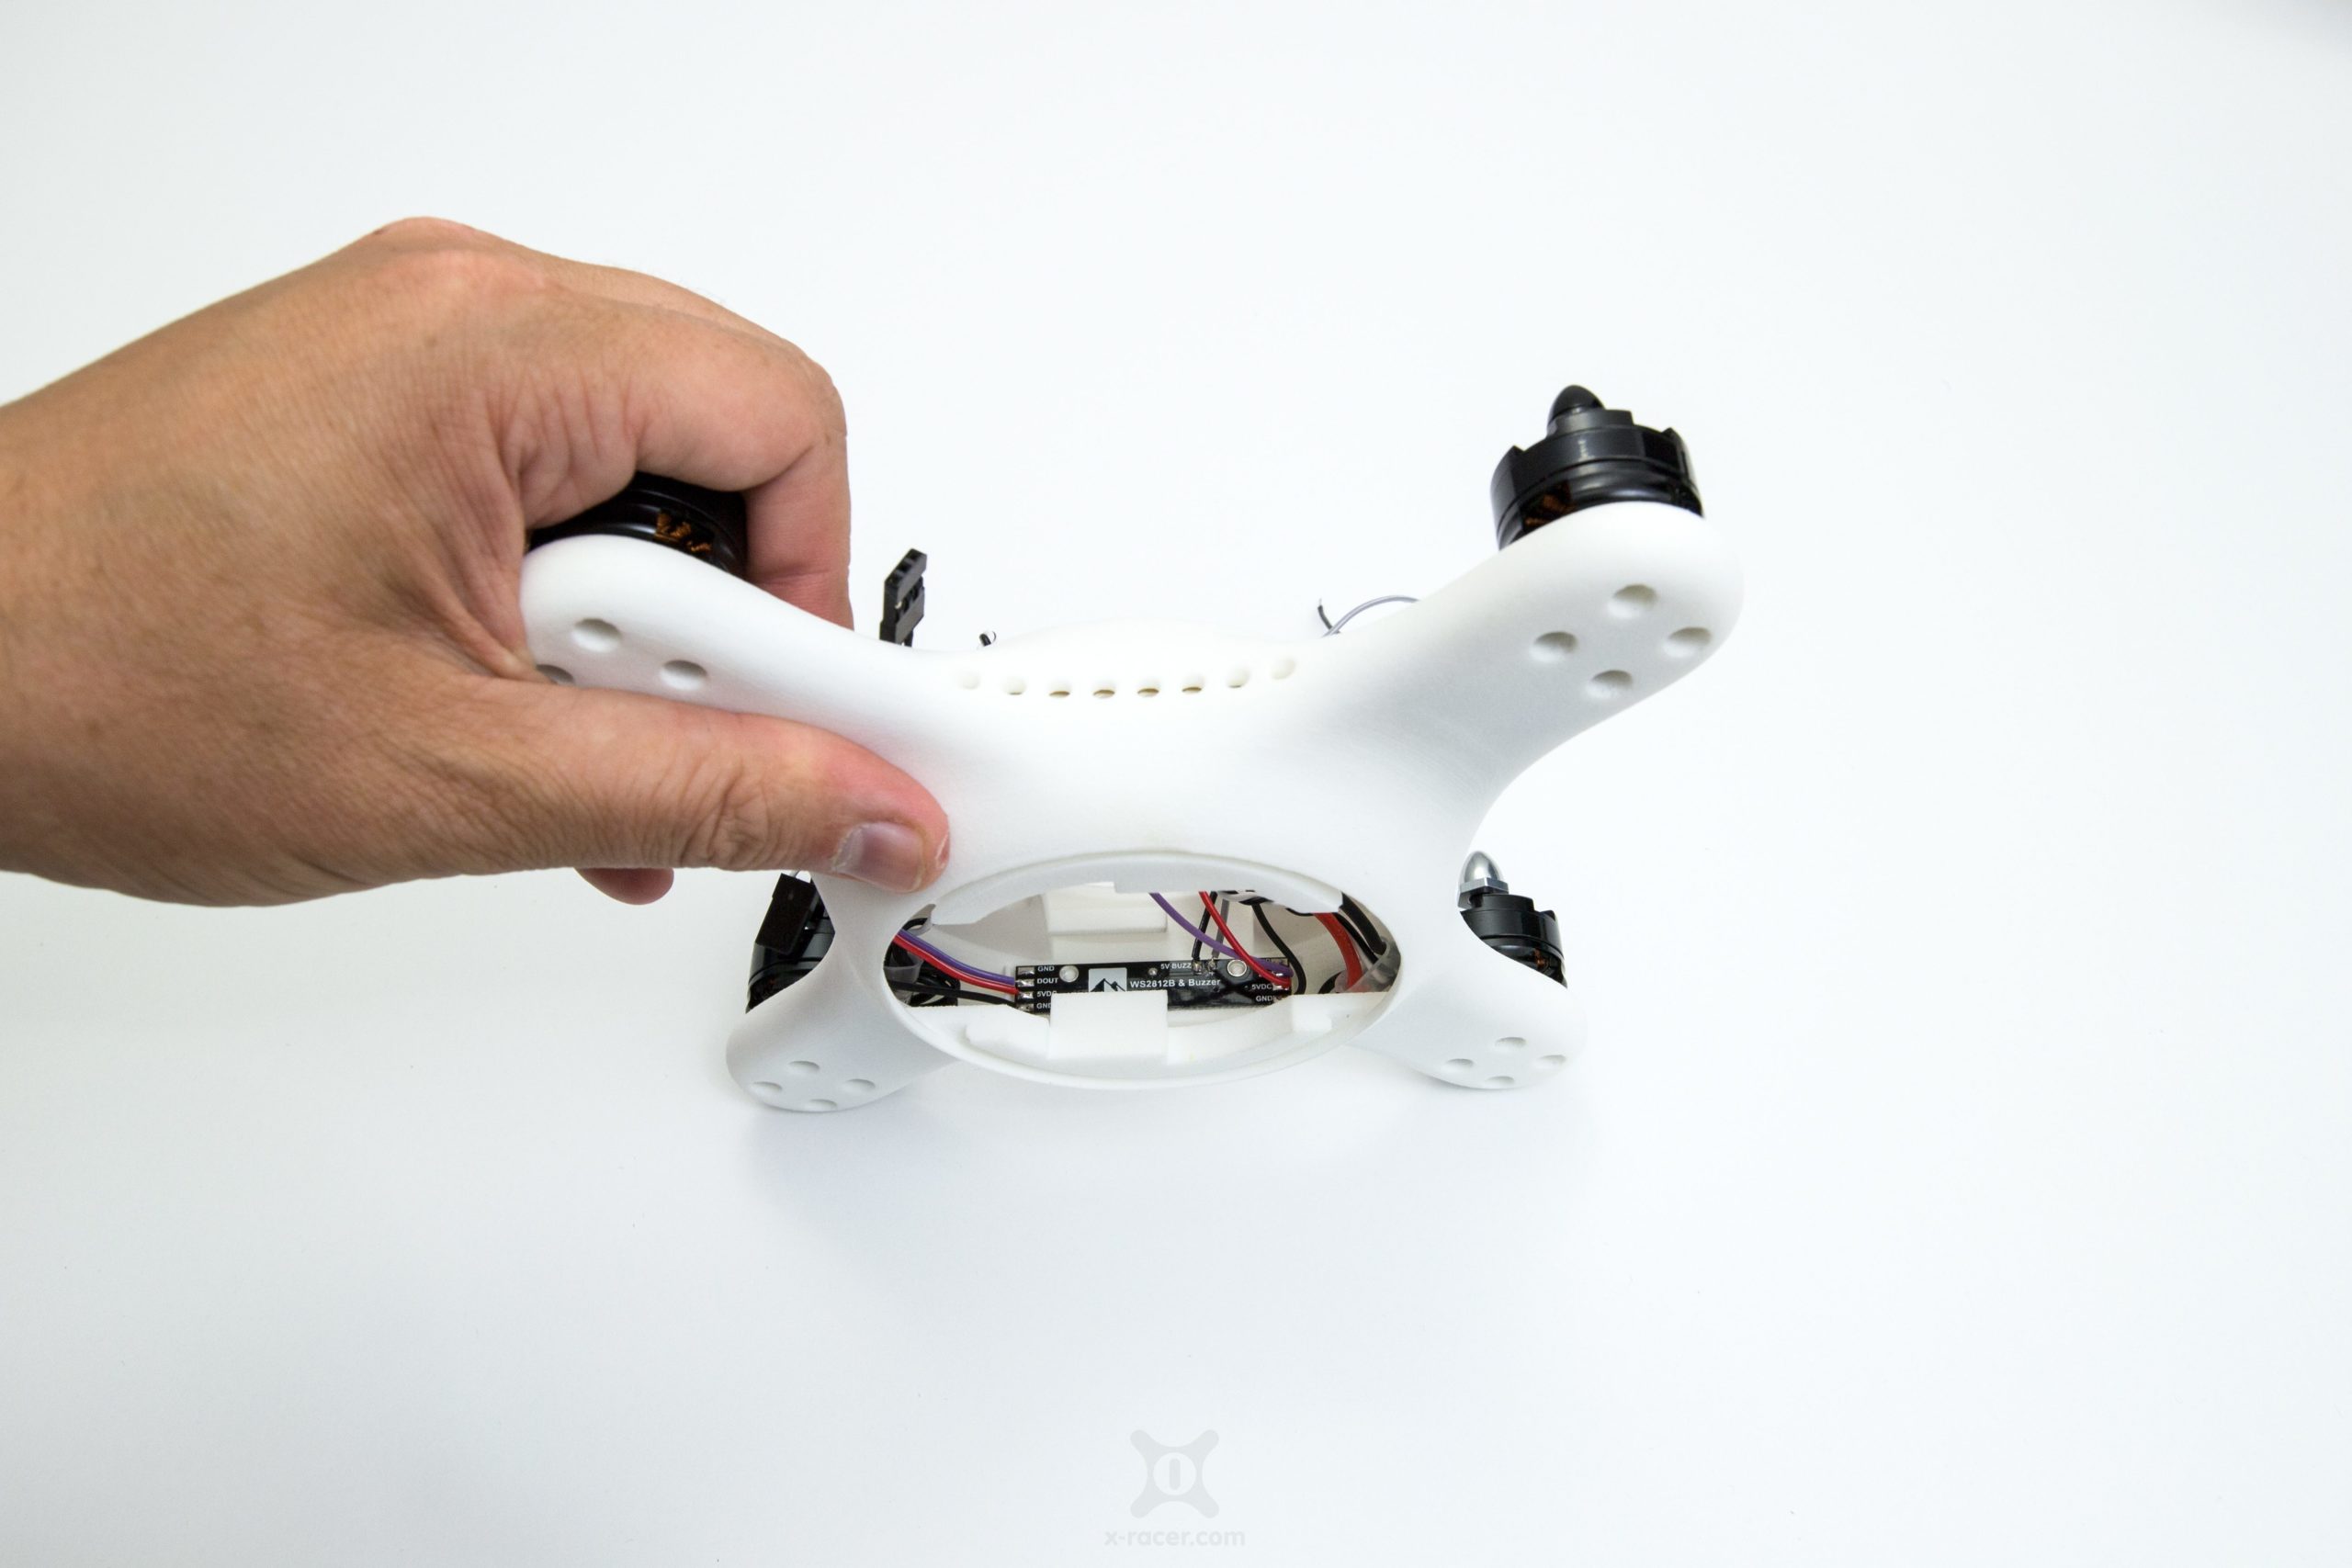
Finally we can put both led modules in their pocket within the XO1. Thew will hold on their own but you can extra fix them with double sided tape or a drop of glue.